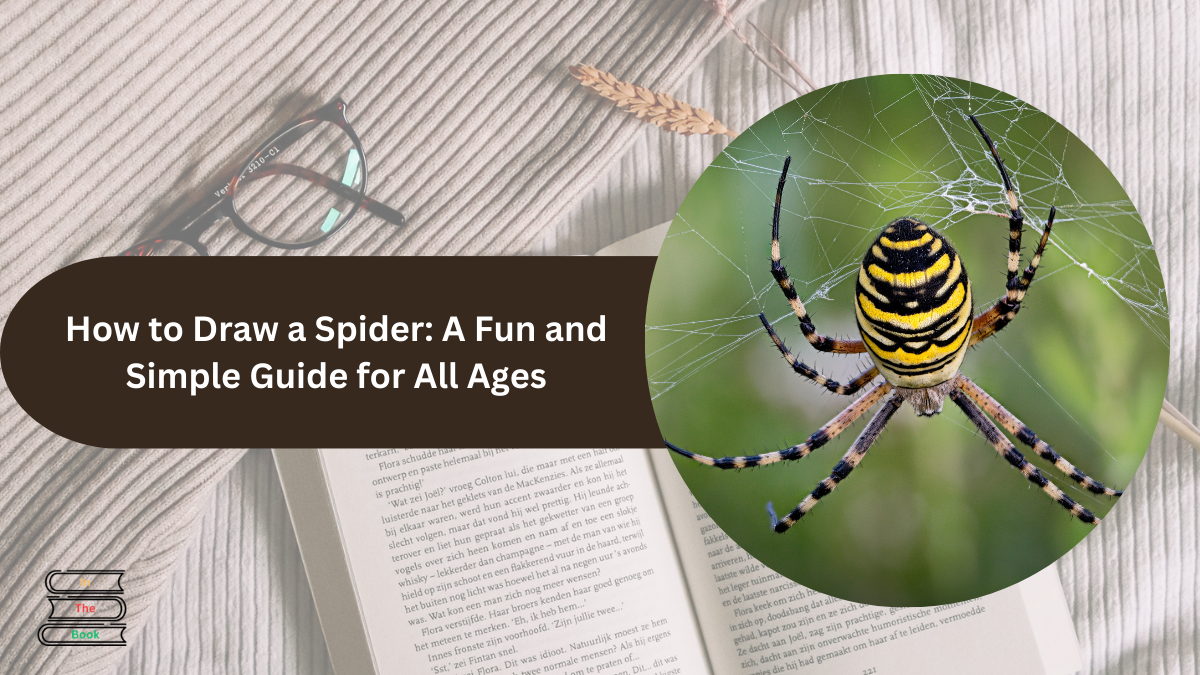
Spiders may give some people the creeps, but when it comes to drawing them, they’re surprisingly fun and easy! Whether you’re looking to create spooky decorations for Halloween or just want to practice your sketching skills, this simple spider drawing guide is perfect for artists of all levels.
In this personalized guide, I’ll walk you through the basic steps of a spider drawing. Once you’ve got the hang of it, you can let your creativity flow, adding unique variations and creating your own customized creepy-crawlers!

Contents
- Understanding Spider Anatomy
- Step-by-Step Guide For a Spider Drawing
- Step 1: Draw the Body
- Step 2: Add the Cephalothorax
- Step 3: Sketch the Legs Framework
- Step 4: More Leg Lines
- Step 5: Front Legs
- Step 6: Middle Legs
- Step 7: Rear Legs
- Step 8: Final Leg Set
- Step 9: Add Fangs
- Step 10: Thicken the Legs
- Step 11: Outline and Finalize
- Get Creative with Your Spider
- Conclusion: What Will Your Spider Look Like?
- Bonus Inspiration for Halloween
Understanding Spider Anatomy
Before we dive into the drawing steps, it’s important to understand the basic anatomy of a spider.
- Two Body Parts: Unlike insects, which have three body segments (head, thorax, abdomen), spiders only have two – the cephalothorax (a combination of the head and thorax) and the abdomen.
- Leg Placement: While a spider’s legs may seem to appear between the two body sections, they’re actually always attached to the front, or cephalothorax. This unique feature sets spiders apart from insects.
Fun fact! Spiders are not classified as insects for this very reason—they belong to a group called arachnids, which also includes scorpions, ticks, and mites.
Step-by-Step Guide For a Spider Drawing
Ready to start your spider masterpiece? Let’s break it down into easy steps.
Step 1: Draw the Body
- Begin by drawing a large circle to form the spider’s abdomen (the back section).
Step 2: Add the Cephalothorax
- Draw a smaller circle about half the size of the first one, overlapping the large circle slightly.
Step 3: Sketch the Legs Framework
- Draw an X across the large circle where the two circles meet. These will serve as a guide for your spider’s legs.
Step 4: More Leg Lines
- Add two more lines at an angle, halfway between the large circle and the bottom line. These lines will act as the lower leg guide.
Step 5: Front Legs
- Draw two legs extending from the small circle. These should angle inwards and be about three times longer than the width of the small circle.
Step 6: Middle Legs
- Draw the next pair of legs on either side, slightly shorter than the front ones. These will be nearly vertical.
Step 7: Rear Legs
- Sketch the bottom pair of legs curving slightly inward. These legs should be a little longer than the front ones.
Step 8: Final Leg Set
- Draw the last pair of legs, angled outward, extending just a bit beyond the others.
Step 9: Add Fangs
- Give your spider a little character by drawing two small fangs at the front of the smaller circle.
Step 10: Thicken the Legs
- Go over each leg, adding a second line to thicken them and tapering them into points at the ends. You can also add joints by drawing slight curves along the leg segments.
Step 11: Outline and Finalize
- Now, trace over your sketch using a fineliner pen, leaving out the lower portion of the small circle.
Voilà! Your spider is ready!
Get Creative with Your Spider
Now that you’ve learned the basics of a spider drawing, it’s time to let your imagination run wild. Want to try something different? Experiment with different body shapes, leg lengths, and even textures. You could:
- Draw a long-legged spider like a daddy longlegs, focusing on thin, delicate limbs.
- Create a fuzzy tarantula with a stout body and hairy legs for an extra creepy look.
No two spiders have to be alike, so feel free to put your own spin on your design!
Conclusion: What Will Your Spider Look Like?
Spider drawing doesn’t have to be complicated or intimidating. With this simple step-by-step guide, you’ve learned how to sketch a basic spider and are now ready to add your own creative touches. Whether you stick with a simple silhouette or decide to experiment with different styles, the possibilities are endless.
Bonus Inspiration for Halloween
If you’re in the Halloween spirit, why stop at spiders? Try your hand at drawing haunted houses, spooky pumpkins, or even some eerie ghosts to complete your collection of creepy illustrations!
So, what kind of spider will you create next?
Click here to know more

Chandler is an avid automobile enthusiast who is passionate about all things on wheels. From the latest car models to classic vintage rides, I love exploring the automotive world’s intricate details and engineering marvels. With years of experience in test-driving, reviewing, and analyzing cars, I provide readers with comprehensive insights and honest opinions.


